PICTURES FOR PRINT
We all know that getting a really good picture of your Beardie isn’t
easy and then you get that perfect one, with your Beardie standing beautifully,
coat in perfect order, nice bushy background, no lead or feet to be seen, perfect
focus and then you realise that the quality of the picture is not good enough
for print. SO before you begin....
Facts
Pictures for print and pictures for Internet are two totally different things.
You need far better quality and higher resolution for print. It’s difficult
to show the problem on the computer since our screens are not good enough to
show the difference.
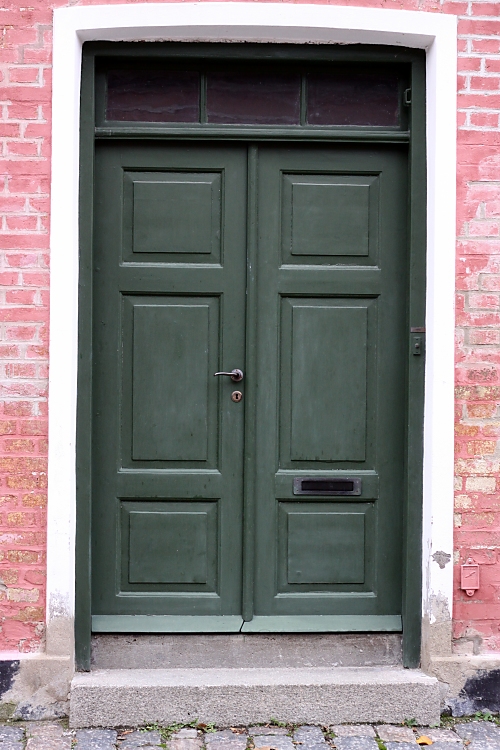
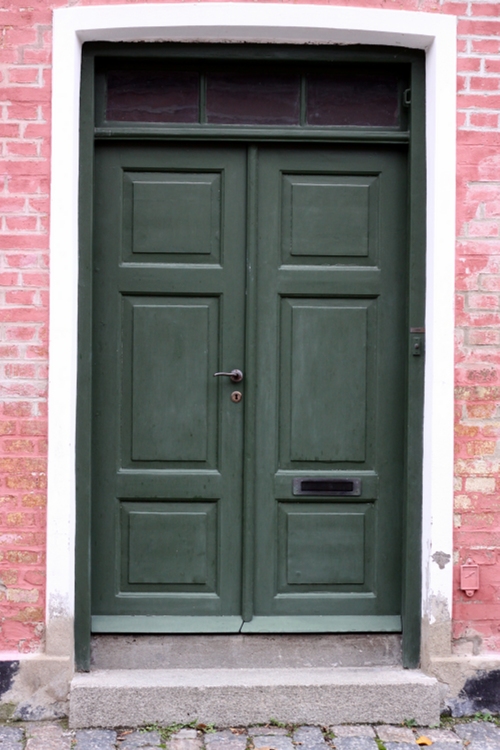
| There does not seem to be much difference in these two photos | ||
|
|
|
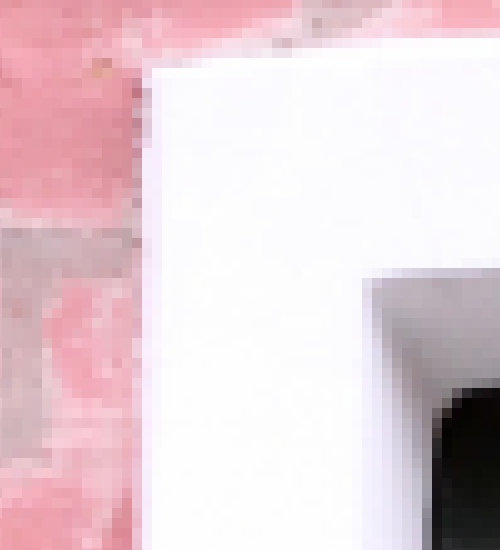
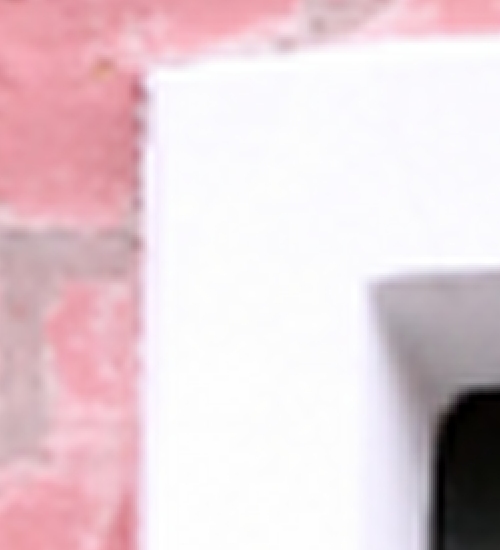
| but looking closer, you can see that the pixels have been "dissolved" and the one to the right will not print well | ||
|
|
|
Digital photos are built up by a series of squares (pixels). The higher resolution, the more squares and sharper the photo will be.
The resolution of a digital photo is expressed in terms of "megapixels" which is total number of pixels in the photo. So, a photo that is 2048 pixels x 1536 pixels in size, which is a total of 3,145,728 pixels would have a resolution of 3 megapixels. A photo that has dimensions of 5184 pixels x 3546 pixels has a resolution of 18,382,464 pixels or 18 megapixels. Digital cameras are rated on the resolution of digital photo that they can produce (i.e. an 8 megapixel camera or an 18 megapixel camera).
So first of all, check that your camera is set on the highest quality. Pictures will be BIG, approximately 2 to 6 MB (depending on the above and on the amount of information in the picture) but you can still get at least a couple of hundred on your memorystick.
Most cameras save the picture with 72 dpi (Dots Per Inch) You can easily change the dpi into 300 which is what is needed for print. This is not a problem if the size of the picture is big. If the picture has a printing size of 35 cm wide in 72 dpi it will become 8,5 cm in 300 dpi.
Change the figure 72 into 300 and save. (picture from Photo Shop)

How do I know how many dpi my picture is?
The easiest way to find out is to:
find your picture in the folder
rightclick on your picture and bring up the grey menu
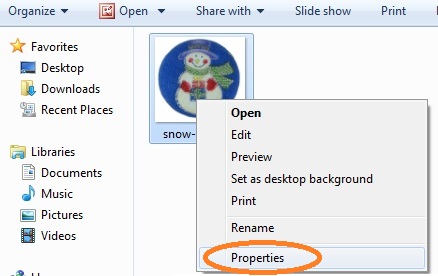
choose "Properties", usually at the bottom
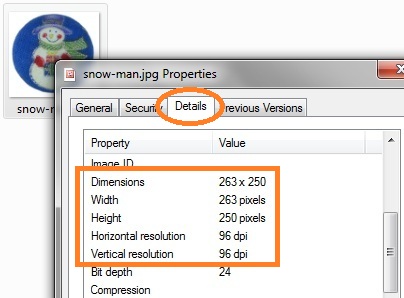
choose the third option "Details"and that will give you all the information
on the picture, including dpi
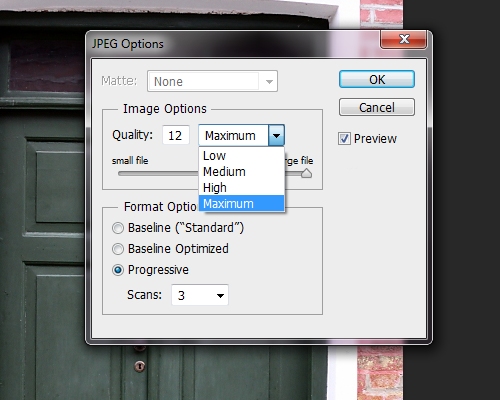
If you need to make alterations or want to play around with your picture ALWAYS make a copy and store the original picture intact. Many computer programmes think they are more clever than you and will make decisions for you in order to "help" you. This usually includes reducing the quality.
Always save with the highest quality
Sometimes you accidently get the background in focus instead of the dog. Blurry pictures can never be made sharp, they will only look weird. Avoid using the Sharpen tool.
It's definatley recommended to take your pictures outdoors! Nothing is better than natural light. Just look at the professionals and all the gear they need to take indoor pictures. So unless you want to invest a fortune, take your dog outside. If it rains, wait til another day.
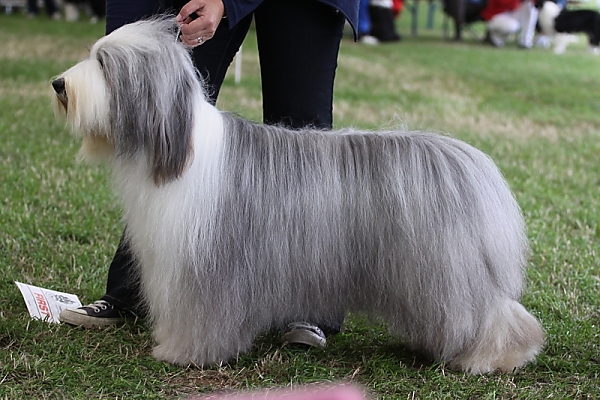
Pictures published on the Internet or on FaceBook will have been compressed
or resized and will not be good enough for print. Digital photos do not take
well to being enlarged and this is most definitely to be avoided.
| This pictures has been enlarged to twice it's size | ||
 |
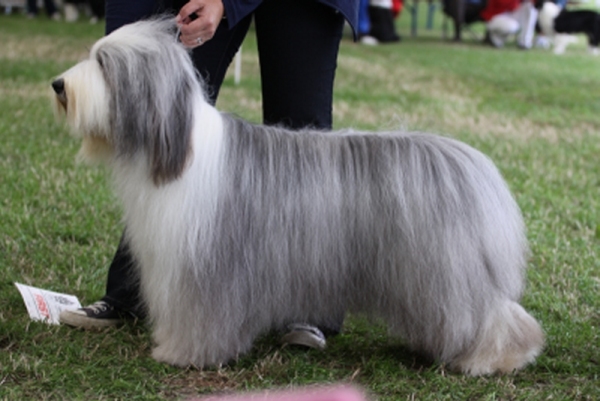 |
Picture Formats
JPEG or JPG
Good: small image size, very good photographic reproduction, compatible with
virtually every image editor and viewer.
Bad: JPG in itself is a compressed format, it compresses by removing information
which can never be recovered, photo degradation after editing on save (even
at highest quality setting).
TIF
Good: No loss in quality, all image information is retained.
Bad: Huge file size even when compressed, has multiple "standards"
so not all programs can read all TIF files. Not web browser compatible.
RAW
Good: high quality format which allows full post processing of all in-camera
variables (white balance, saturation, sharpness, etc.).
Bad: not all software can view RAW files, large file size. Not web browser compatible.
Summary
So in order to take the perfect picture for the yearbook, all you really need
to know is:
- set your camera to the highest resolution and best quality
- get the perfect picture of your Beardie (which is a another chapter)
- if you need to crop the pictures or do any other alterations in a computer
programme, ALWAYS make sure to save with a 100% quality
- NEVER enlarge a picture
- remember that it's so easy to reduce the quality and IMPOSSIBLE to get it
back
if you haven’t got a proper programme and need to change the dpi, send
it to Gertie and she will do it for you. OMG! what have I promised ;o)
Bearded Collie coat close-up
To the left: High quality saved in higest mode. To the right: Picture downloaded
from FaceBook and saved by "a smart programme"
